Congratulations on your purchase of a Bike Binderz kit. we know that you are going to enjoy loading your bike securely and safely. Say good by to complicated tie down processes and hello to more time on your bike.
This page contains the information you need to correctly install your Bike Binderz system.
Mounting Instructions For Adventure Bike Kits
What You Need:
- 5/32 hex key
- 7/16 wrench
- tape measure
- sharpie
- drill
Instructions:
- Find the Location where you want your bike to sit during Transportation, make a mark straight down from the ends of the foot Peg on the floor/deck/solid mounting base, Secure the anchor points to the floor with the supplied hardware.
- Adjust the bike binder to the appropriate hole so that when the binder handle is in the down position the top of the binder sits just below the top of the foot peg, bikes with softer suspension need to be adjusted tighter.
- Lean the bike over and Slide the 1st aluminum box over top of the foot Peg pushing the Locking pin completely through the foot peg.
- Repeat on the other side and the bike will stand free with little weight on the suspension.
- For transportation lift up on the handle to bind down the bike and place the Locking pin through the handle, now your bike is secure and ready for transportation.
- For additional stability on the dirt bike kit use the supplied velcro strap on your front brake lever.
- WARNING!! do not drop the bike with only one binder attached.
L Stud Instructions:
- Grasp the housing of stud fitting between your first and second fingers. Place your thumb on the plunger in the middle ring and depress.
- Push the stud fitting down & slide forward or backward in the L track to desired location.
- Align the plunger between any two holes, release the plunger and housing to engage.
- Slide binder base back and forth to ensure both studs are properly engaged in the track.
- To remove the stud fittings simply grasp the housing between your first and second fingers, place thumb on plunger in the middle of the ring and depress. Slide the stud fitting to any hole in the track and lift to remove.
Correct Installation:
Make sure the Binder is secured on both sides of the anchor point.
Remove Bolts to Adjust the Height:
Lowest Setting

Highest Setting
Warnings and Disclaimers
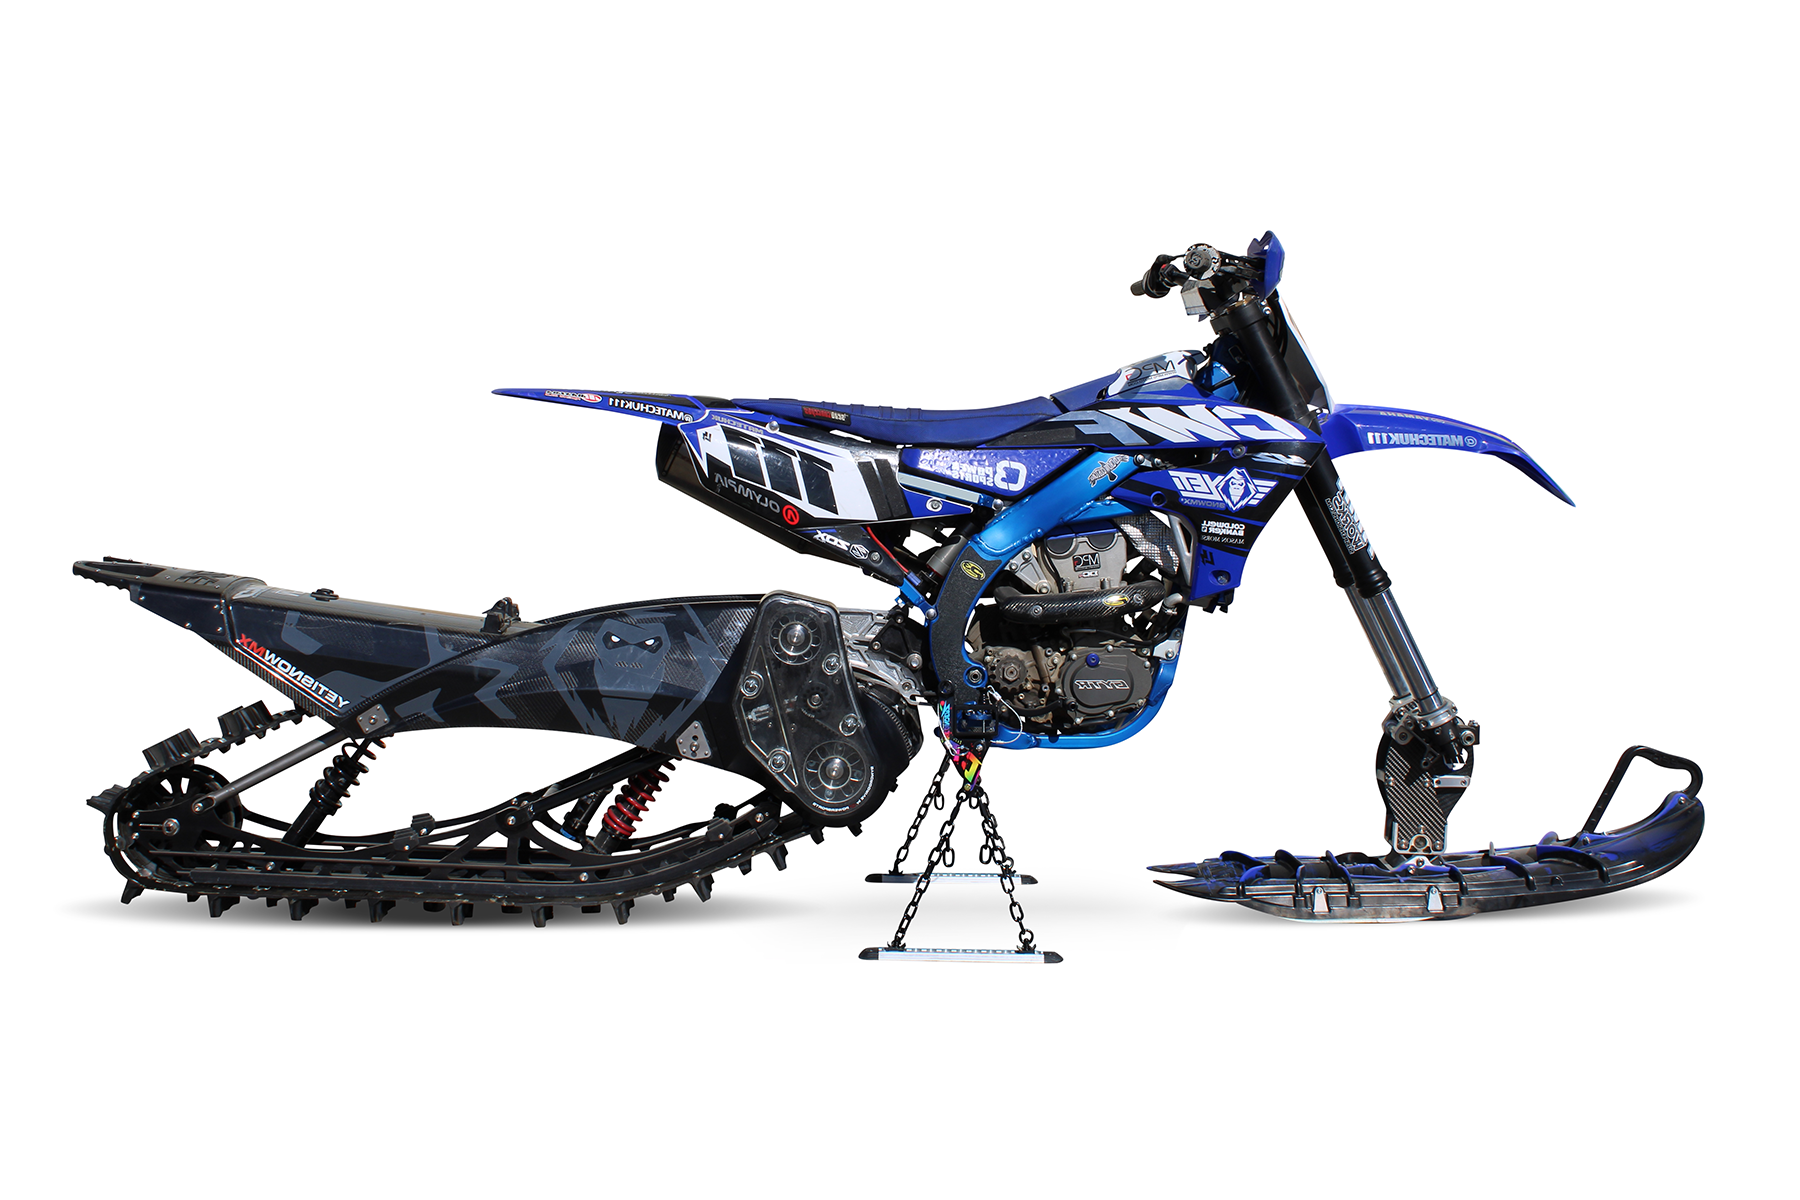
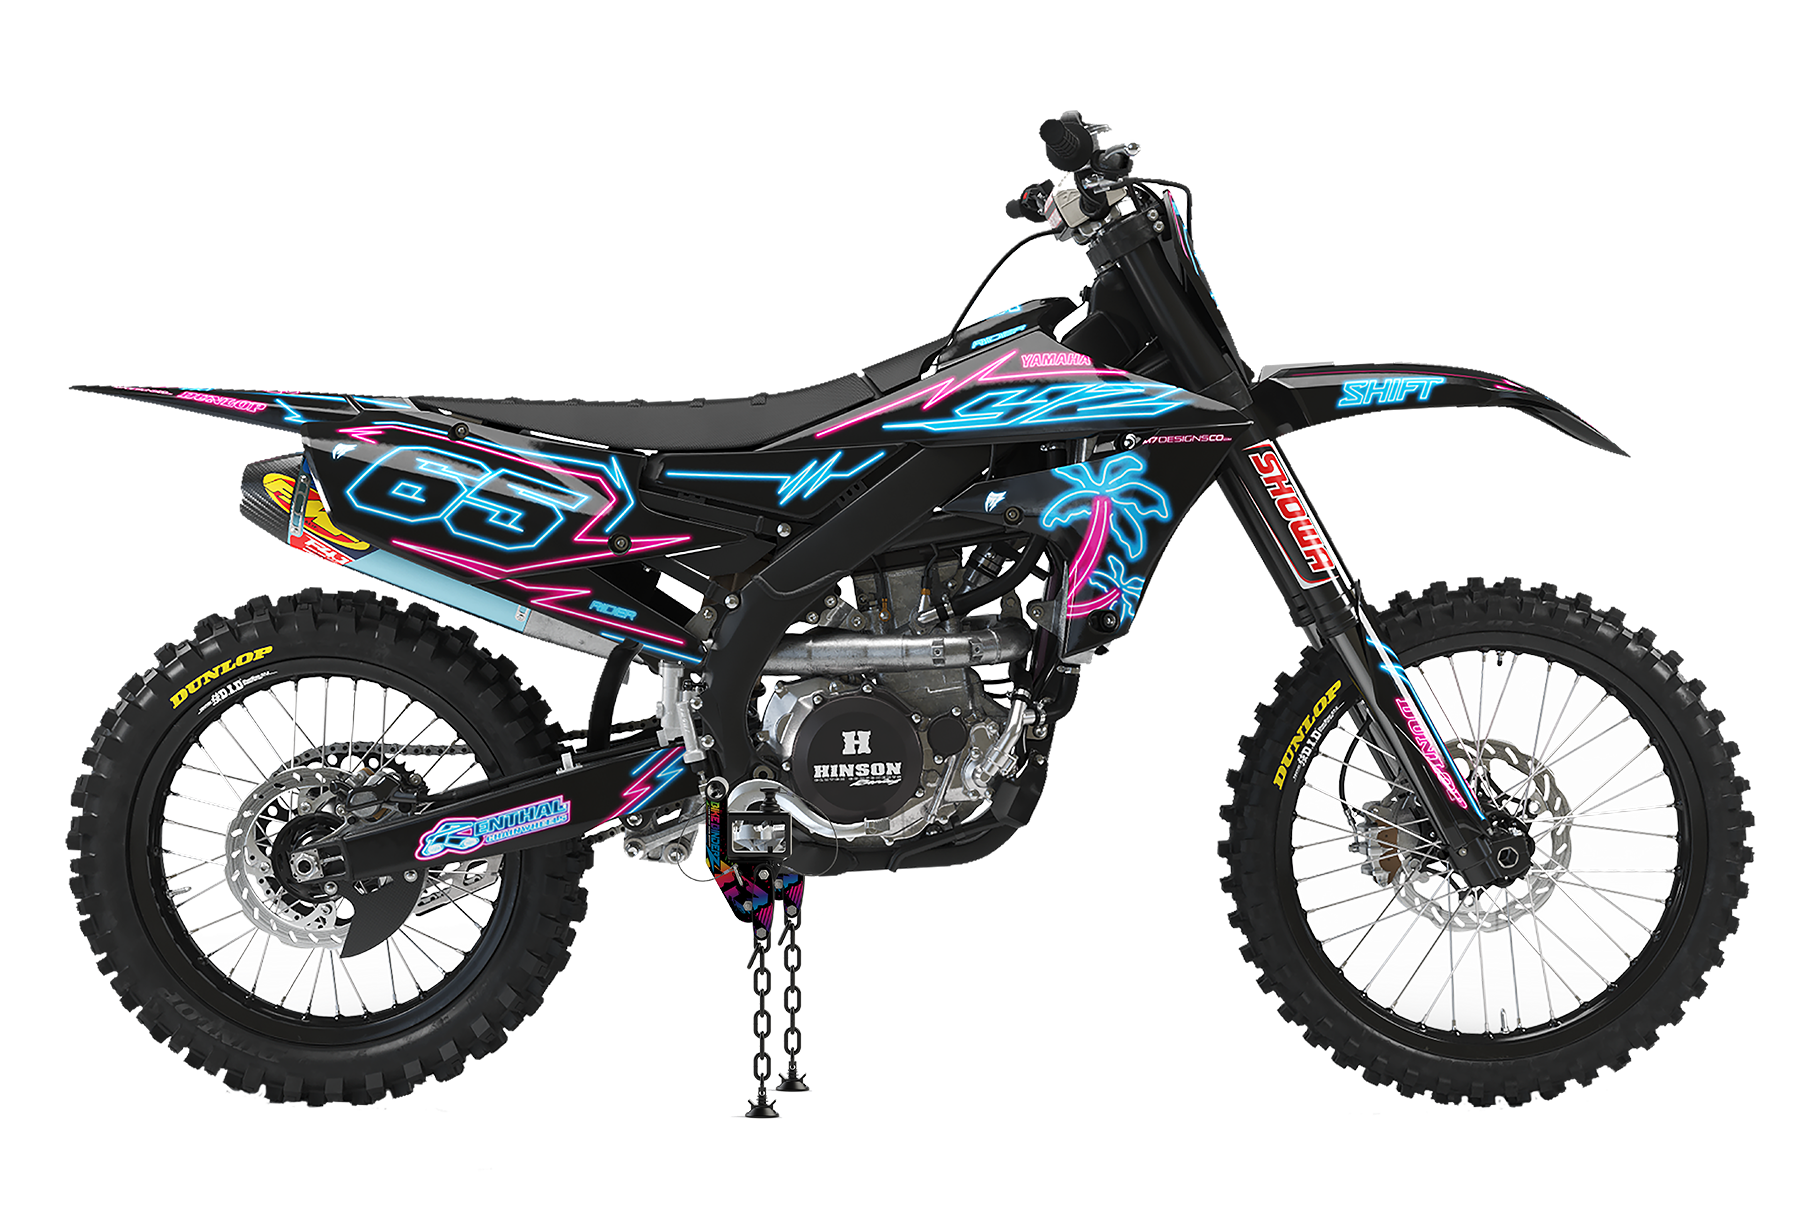
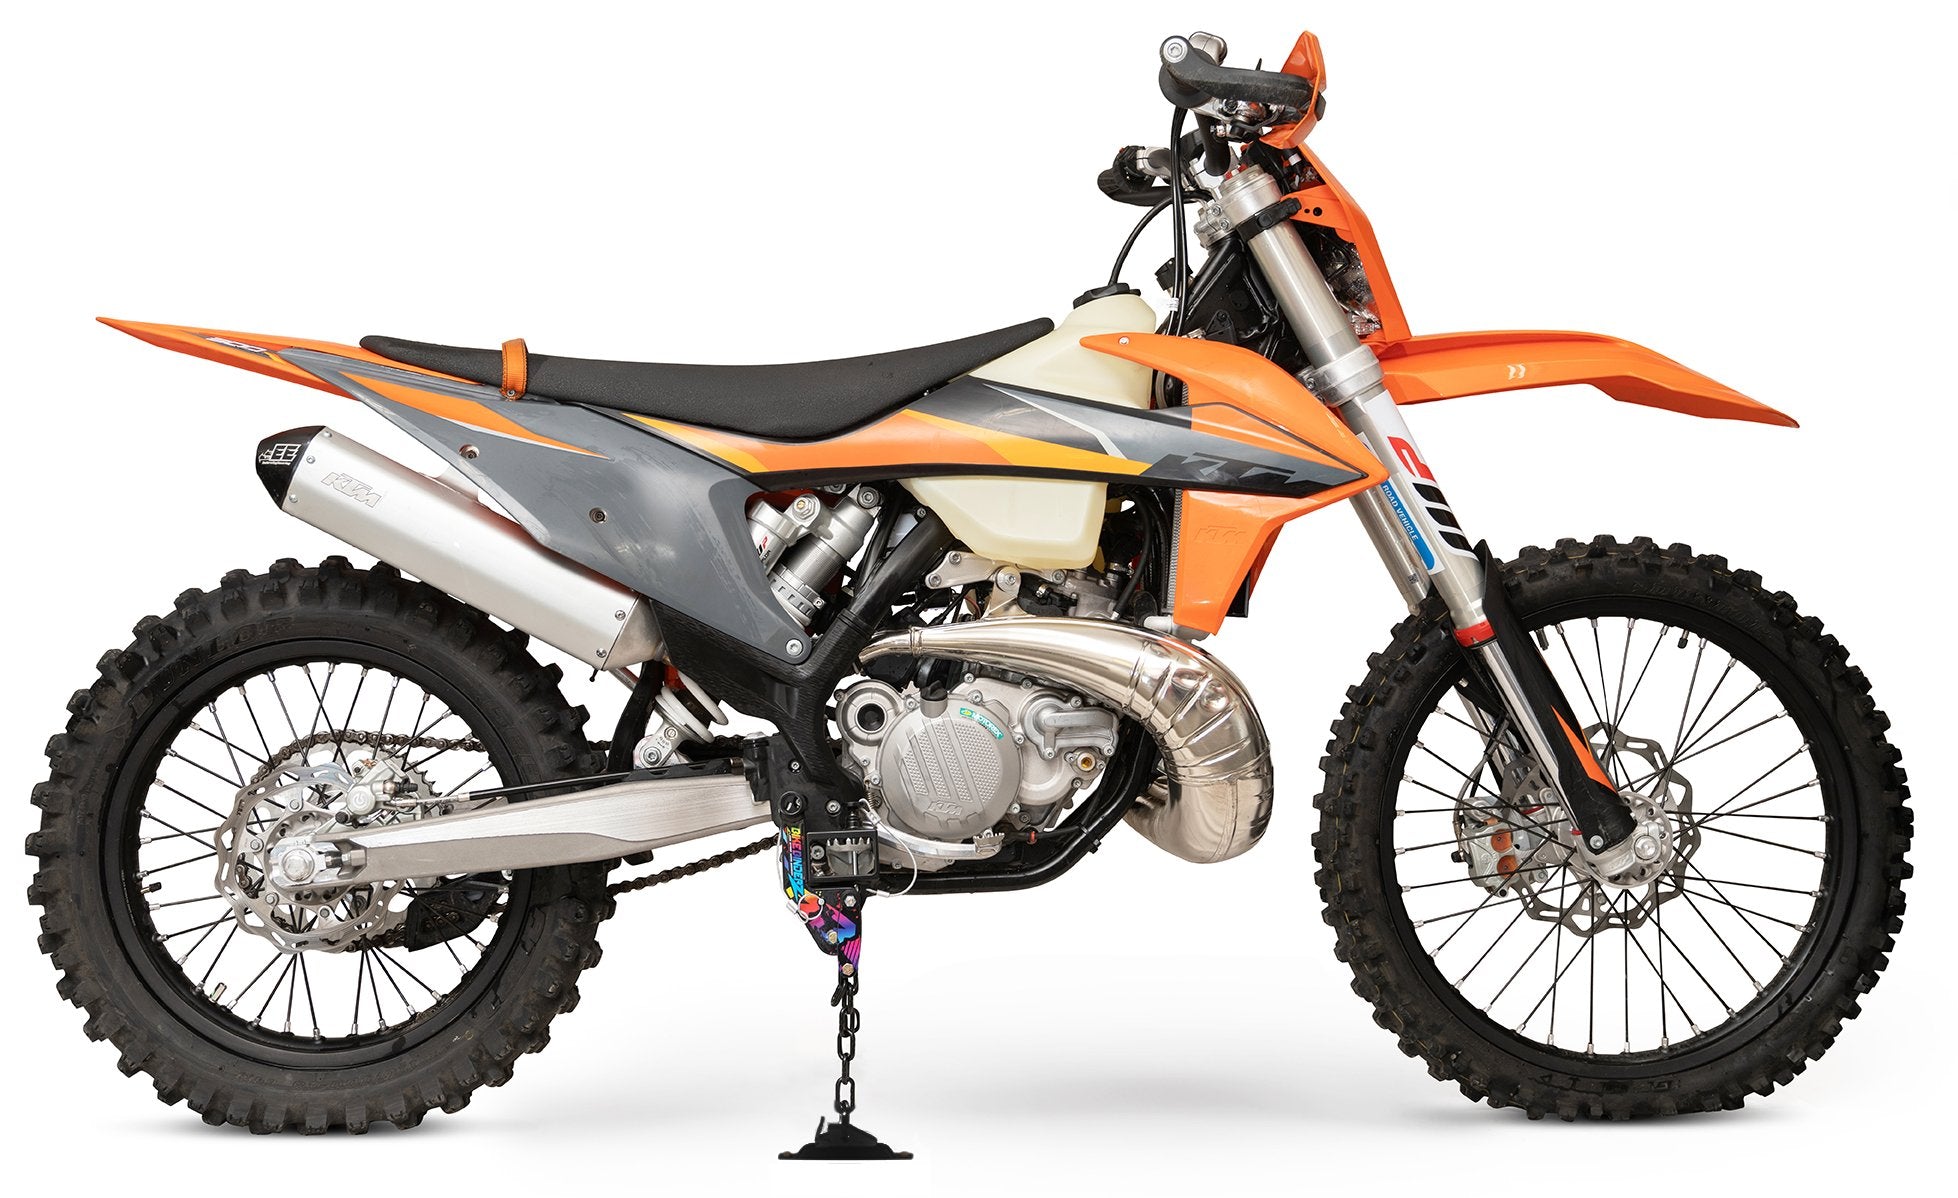
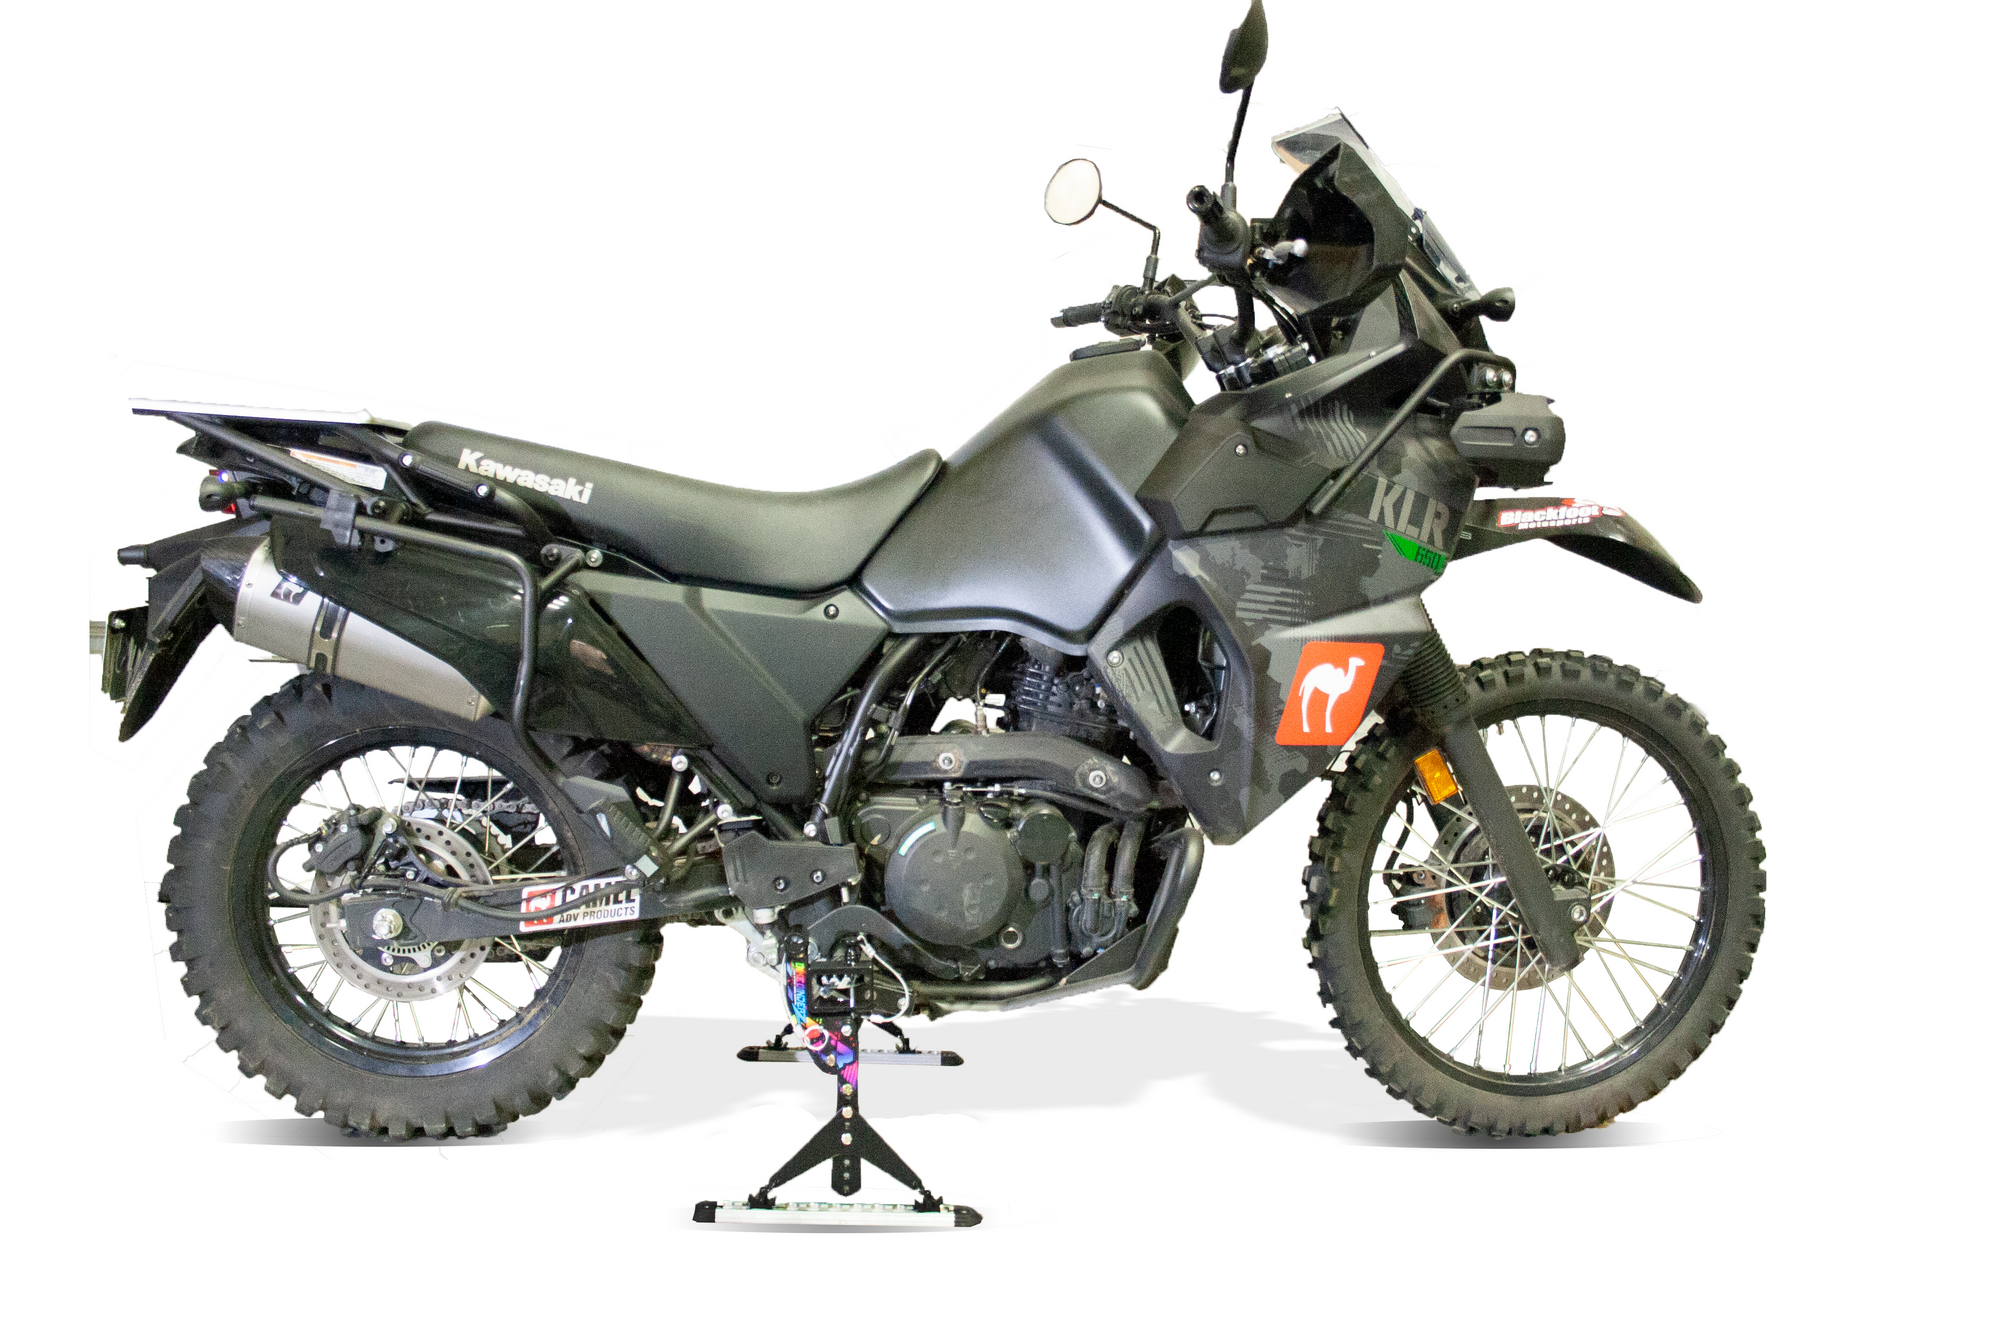
- Adventure Bike Binderz MUST be mounted vertical, this kit cannot be mounted wider than the footpegs or damage can occur.
- Ensure the pin is completely pushed through the footpeg
Additional Information and Contact:
Give us a shout with any questions!
Email: info@bikebinderz.com
Call 855-724-6458 Monday to Friday 9-5 MST -7